You have come to the right place if your goal is to create wood-carved caricatures. You will learn all about the design and safety. It's possible to make a caricature from a standard image into a masterpiece. Here are some tips to help you make your caricature unique. Besides, there's always the option to take classes from caricaturists.
Techniques
Wood carving caricatures can be a very unique type of sculpture. These caricatures are funny and tell a story with no words. Caricature is a fictionalized representation of a person. Dave Stetson is one of the best wood carvers. He adheres to a strict code for realism. There are certain rules you should follow to create an effective caricature. This article will cover the basics of caricature-carving and give tips for creating one.
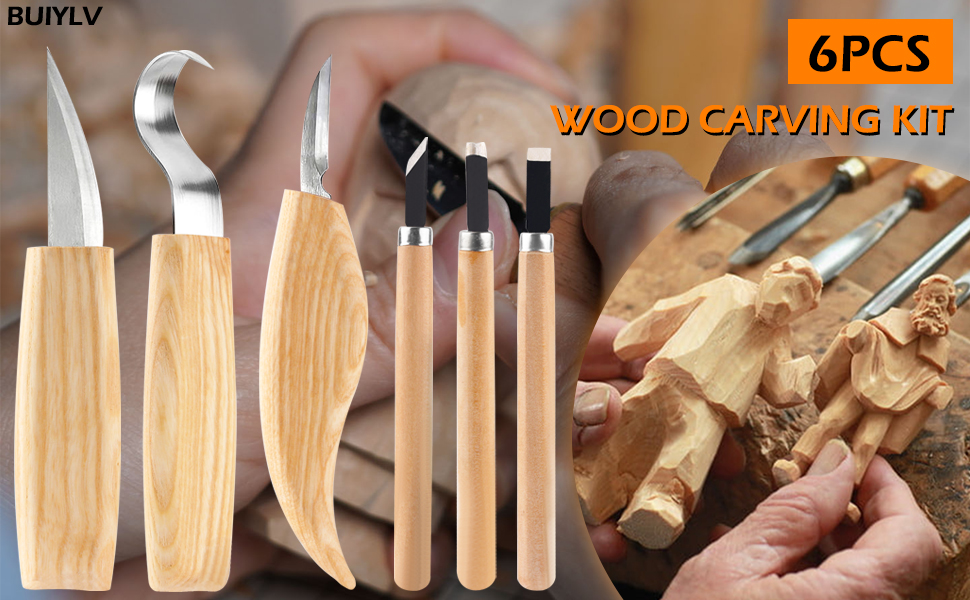
First, the technique of carving an astronaut requires a great deal of focus. You will need to use either a spoon carving knife or whittling knife to carve an astronaut. Both are delicate tools. To make the job easier, you can use templates while you are carving the astronaut. A good tutorial will offer step-by–step instructions on how you can finish your caricature. You might consider buying a tutorial on the subject if you have a tight budget.
Designs
Amusing wood-carved caricatures can be made in many ways. An excellent way to begin is by using a template. You can also purchase a cutout of cardboard and use the same patterns to create different caricatures. The steps for a caricature-carving tutorial can also be used. This article will teach you some of the best caricature carving techniques.
Fred created the first caricature he ever made, called "Aristocrats of the Roads". It depicted two men wandering. It was made of Honduras Mahogany. Fred entered it to competitions, and won numerous awards. He also featured it on the Chipping Away Catalog. In 2009, Fred carved another caricature of Luciano Pavarotti, which won him a Second Runner Up Award at a national woodcarving convention.
Eyes
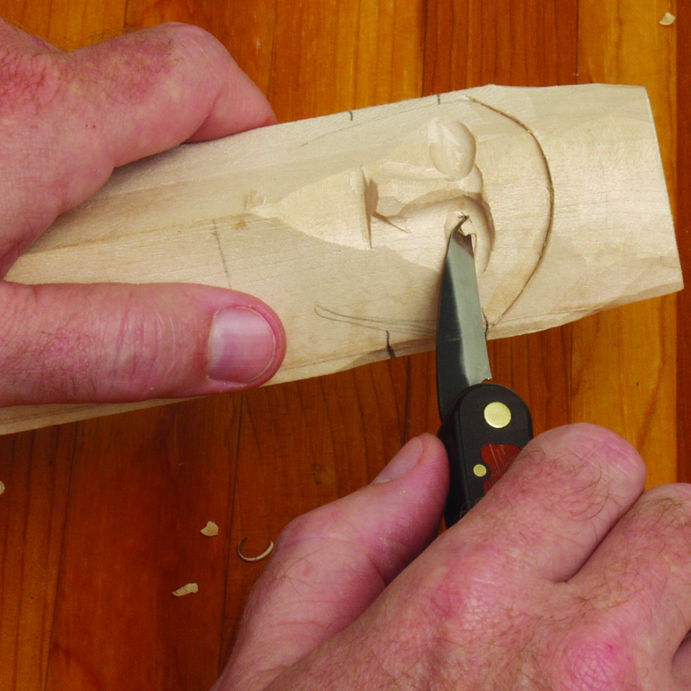
It is important to ensure realistic looking eyes when carving caricatures. There is nothing wrong in having realistic looking eyes. However, viewers may not be satisfied with a caricature lacking the right amount detail. You can take a photo of an existing carving and follow the steps to make sure your eyes match.
Next is to determine the eye shape. Some carvers use the identical eye shape to create their eyes. Others use different shapes to create more believable eyes. Stop cuts can be used for symmetrical eye shapes. Lastly, you will need to carve the pupil and the iris. Now you are ready to start carving the caricature.
Safety
The wood carving caricatures are very unique. They tell stories without the use of words. Artists who create them take great pride in their accuracy. Caricatures are usually depictions that exaggerate people or things to convey an impression. Dave Stetson, a woodcarver, has created strict rules regarding safety and quality.
Before carving a caricature from wood, you need to first clean it and remove pencil marks. You can wash the wood with soapy water or dish soap. To carve the neck and head, use a V-shaped 60 degree tool. The 60-degree V-shaped tool is a good choice for carving, as it can easily cut wood. Ramelson's 60-degree V-shaped Carving Tool is an excellent choice. It is very sharp and easy-to-use.
Materials
The wire and wood caricatures are a fun, challenging way to carve animal figures. While animal caricatures may not be as elaborate as human caricatures, they are still fun and can convey a story without the use of words. Caricatures can be exaggerated to evoke realism. Carving caricatures can seem like a hard hobby, but it is possible for experienced carvers to use a variety of materials.
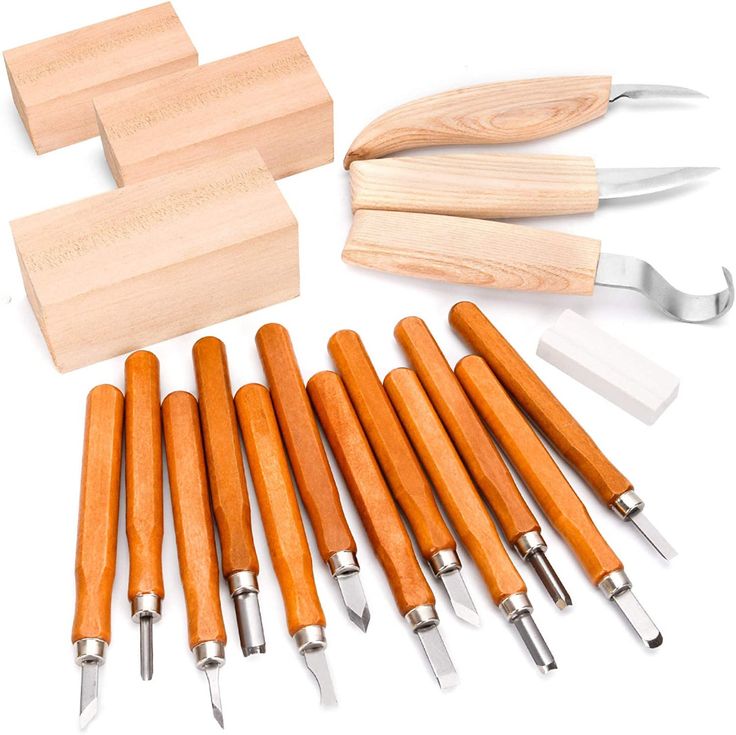
The materials you will need to complete your carving include chisels and a wood board. A hammer is also necessary. Acrylic white paint is the first layer of paint. You can purchase it at a craft shop. Once you've completed the base layer, the next layer can be started. This layer will consist of a golden brown paint and a few drops of burnt sienna (Academy). You should apply 2 drops of sunkissed Peach to the face.
FAQ
What wood items do well?
These wooden products are the most popular. They were made from sustainably harvested wood.
Maple, cherry, mahogany walnut, teak, mahogany and maple are the most common woods for furniture.
These woods are very strong, but they also have beautiful grain patterns and colors. They are also very durable if properly maintained.
To prevent moisture damage, wood furniture should always first be painted. This applies to all surfaces, even drawers and doors.
If you want to make sure that your furniture lasts as long as possible, then you should choose a paint that is resistant to water.
A high-quality oil-based primer should be used, followed by two coats with top coat. Depending on the amount of wear, you may need several coats.
Spray cans and aerosol spray paints are not recommended. These products contain solvents which evaporate quickly and leave behind harmful fumes.
How long does it take to finish a piece of furniture?
It all depends upon the size of your piece of furniture. Boxes and picture frames are small projects that can be completed in one day. Larger projects, like desks or dining tables require several days. It takes time for the wood to be stained and sealed properly.
How can a novice woodworker make it big?
Many people want to open an online furniture business and are learning how to build it. However, if you're just getting into furniture building, there are other options than selling on Etsy. You could also sell at craft fairs, or other local events. A workshop could also be offered for people who are interested to learn how they can build their own furniture. Perhaps you have some experience as a carpenter/builder and would like to offer your services, such as remodeling homes and creating custom pieces.
Is it easy to start a woodworking business?
It can be difficult to start your woodworking business. There are many laws and regulations you need to be aware of. It doesn't mean that you have to go through the entire process of starting a business. Many people join already-established businesses. This will allow you to avoid paying membership fees and taxes.
What is the difference between a hobbyist or a professional woodworker, and how can you tell?
Hobbyists like making things with wood. Professionals focus more on quality. Hobbyists usually take pride in their creations and often share them with friends and family. Professionals will spend hours looking at designs before they start to build a project. Professionals will be meticulous about all aspects of their work, from selecting the right materials to finishing it.
Statistics
- The U.S. Bureau of Labor Statistics (BLS) estimates that the number of jobs for woodworkers will decline by 4% between 2019 and 2029. (indeed.com)
- Average lumber prices rose about 600 percent between April 2020 and May 2021. (familyhandyman.com)
- The best-paid 10 percent make $76,000, while the lowest-paid 10 percent make $34,000. (zippia.com)
- If your lumber isn't as dry as you would like when you purchase it (over 22% in Glen Huey's opinion…probably over 10-15% in my opinion), then it's a good idea to let it acclimate to your workshop for a couple of weeks. (woodandshop.com)
External Links
How To
How to stain wood
Staining wood can be described as a process where chemicals are applied to the wood surface. This causes the wood to take on a new color. This chemical reaction changes the wood's color from white to brownish. Although oak is the most popular type of wood to stain, there are many other types that can be used.
You can apply wood stains in many different ways. Mixing the stain in a solvent such as turpentine and spraying it onto the wood is one method. You can also apply a solution containing water and dye directly to the wooden surface. You can also mix stains with varnishes or paints so that they become part the finish coating.
Preparing the surface is the most important step in staining wooden surfaces. The wood must be thoroughly cleaned to remove all grease and dirt. Sanding the wood removes scratches and imperfections. You must then decide on the type of stain that you wish to use. There are two basic kinds of stains: penetrating stains and non-penetrating stains. Penetrating stains penetrate deeper into the wood than non-penetrating ones, making them ideal for dark colors such as mahogany. The best non-penetrating colors are those that work with light colors like maple.
After you've decided what type of stain to apply, get ready for your tools. Paintbrushes are great for applying stain because they allow you to evenly spread the liquid across the surface. To remove any stains left behind after painting, you will need some rags. If you plan on mixing the stain yourself make sure that you have enough containers to hold the different components.
After you have prepared the materials, you can clean the area where you want to stain the wood. To remove dirt and dust, use warm water and soap. You can wipe down the entire furniture using a damp rag with clean water. Take care to remove all debris and dirt, especially if you are planning on staining darker wood.
Apply the stain. Begin at one end and spray or brush the stain on the wood. Move slowly and carefully along the grain of your wood until you reach its opposite end. Keep the stain from dripping off the wood's surface. Allow the stain to dry completely before you move on to the next step.
A coat of clear polyurethane sealing agent is applied to protect the paint. Three coats of polyurethane sealing agent are required. Allow the third coat to dry overnight before sanding the final coat.