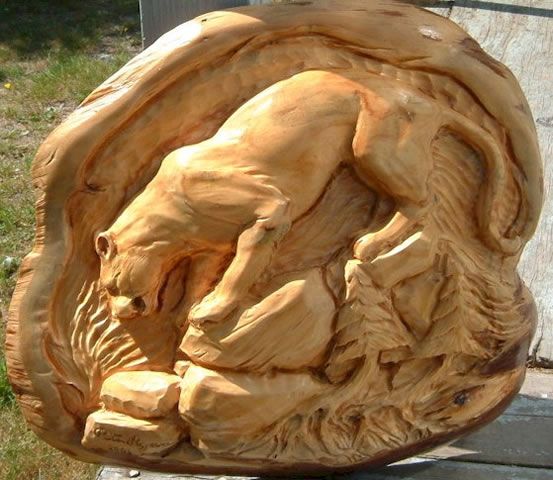
Select a piece of wood to begin carving a face out of wood. Make the necessary cuts. As the expert guides, you can watch a video that shows the entire process step-by-step. The face can be made more realistic by the progression of the cut. It is important to create a lifelike facial expression by adjusting the position of the noses in the wood. For a realistic finish, color dyes and shellac can be used in addition to the face outline.
Hardwoods
First, consider the type of wood you intend to use when carving a wood face. Hardwoods, a type of tree with broad leaves, can grow in different climate zones. Hardwoods can be used for building and furniture construction due to their versatility in strength, density, and appearance. Hardwoods can be more cost-effective than softwoods but are durable and fire-resistant.
It's a good idea to use softwood if you're just starting wood carving. These types of wood are easier to work with and are a good choice for beginners. It is important to remember that hardwoods can have the same quality and finish while softer woods are not. For this reason, it's important to experiment with different types of wood before settling on a particular type.
Softwoods
When carving a face from wood, the first step is to choose the right softwood. Softwoods are harder to carve and can often be knotted. They can also be more fragile if you use long strokes. Beginning carvers will cut small pieces of timber, decreasing detail. While it's not a major problem, this is something to be aware.
Some hardwoods can be more difficult than others. Aspen and butternut are the easiest hardwoods to work with. It is recommended to use knives with a higher bevel. Softwoods are much easier to work than hardwoods. You can also carve them along or across the grain. The quality and finish of your product will depend on what wood you use.
Colored dyes
For wood carvings that are vibrant and detailed, you can use colored dyes. These dyes are available in a variety colors that can be mixed with water or alcohol to create unique colours. Use colored dyes that are mixed with shellac to lighten woods. After applying dyes, ventilate your work area and clean your brushes with denatured alcohol. Another option is paste wax. An excessive level of glossiness may cause distractions to your work. To remove any excess glossiness, use 0000 steel wool.
There are many types of wood dyes that can be used and they are easy to apply. Wood dyes can be used with any topcoat and are very easy to apply. They solve common finishing challenges. They come in a variety primary colors so they are easy to mix up and apply. They come in many different shades, so you can mix them according to your personal preference. They can be mixed to create new colors.
Shellac
Before applying shellac to your wood carving, you should have it ready and handy. Although you can buy a jar of the stuff, it is easier to use a brush to apply it. Two-pound cuts will suffice. Because it builds up slowly and reduces brush marks, a two-pound cut will do. A thicker cut is better than a thin one because shellac can be very water-thin. You can make your own pads from cotton lumps the size of golf balls and lint-free cloth. You can then dip the tip in the shellac, and let it run back into your bottle.
Shellac can add color and highlight grain. Shellac comes in various colors, so you can create custom blends by mixing different shades of the resin. You can darken the shade with extra coats of lac. Shellac, unlike other wood finishes won't turn yellow or become cloudy. Shellac is also more durable, which means you can make even more faces. This can be done with any type or wood carving project.
Gouges
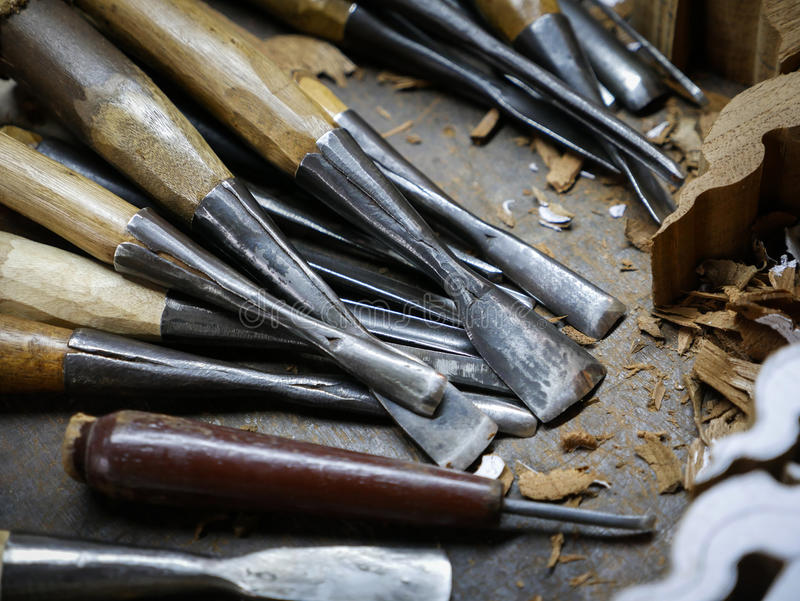
There are many sizes and shapes of gouges. The most common types of gouges are the straight and palm gouges. Palm gouges can be held in one hand, while straight gouges require a larger handle and shaft. Hand held carving becomes much easier when the handles are shorter. Palm gouges are also called veiners and are ideal for carving faces in wood. Before you begin carving, here are some things you should consider.
You must first know how to select the right gouge. You should be able cut a narrow v-shaped groove with the gouge that you select. Use a sharp, narrow edged tool. The most common way to classify gouges is by their size. A 3/10 gouge will create the same-sized cut as an 5/10 gouge. As the first number increases the scoop between edges becomes deeper, and the sweep becomes progressively curvier. A small gouge can create a profile with a narrow sweep.
FAQ
You can learn how to woodwork.
Doing is the best way to learn any subject. Woodworking is an intricate art form that requires practice, skill, patience, and experience. It takes time to master any craft.
To actually learn something is the best way. Start small and then build upon what you've learned.
How can I learn basic woodworking skills
Building a bench is a great way to get started in furniture building. This project can be done with any kind of wood that you have at home. If you don't know what kind of wood to use, then go ahead and buy some cheap pine boards from Home Depot or Lowes. You'll need to sand the bench after it's built. Then, finish it with varnish or a stain.
How do you calculate woodworking costs?
Remember to keep costs as low as you can when calculating project costs. Always ensure you are getting the best possible price for materials. It is also important to consider the costs of other factors, such time, skill, and experience. You can find an estimate of the cost of different woodwork projects in our guide to common DIY tasks.
Statistics
- Most woodworkers agree that lumber moisture needs to be under 10% for building furniture. (woodandshop.com)
- The U.S. Bureau of Labor Statistics (BLS) estimates that the number of jobs for woodworkers will decline by 4% between 2019 and 2029. (indeed.com)
- Overall employment of woodworkers is projected to grow 8 percent from 2020 to 2030, about as fast as the average for all occupations. (bls.gov)
- The best-paid 10 percent make $76,000, while the lowest-paid 10 percent make $34,000. (zippia.com)
External Links
How To
How to use a handsaw correctly
The wood is cut into pieces using a hand saw. These saws are most commonly used to cut wood into pieces. A hand saw is a tool made from metal or plastic which cuts material such as wood, plastics, metals, etc.
The main advantage of using a hand saw is its ability to make precise cuts at any angle without adjusting the blade. Sharpening them is easy, unlike with power tools. There are also some drawbacks. You must be careful when transporting them, as they can be heavy and bulky. If you are not familiar with how to use one you may injure yourself.
You can hold a handsaw in many ways. You should always keep your hands far away from the blades while cutting. If you don't, you might get hurt. Holding the saw in your hands, place your thumbs on the handle and your thumb at the blade's top. This will prevent you from accidentally touching the blade.
It is important to not put anything under the piece you are cutting when using a handheld saw. Doing this would cause the blade to slip off the wood's surface. Before cutting, always inspect the area. Make sure there are no nails, screws or other objects under the wood.
When working with a handheld saw, safety goggles are essential. These glasses prevent dust from entering your eyes and make it easier for you to see what's happening. Safety glasses also protect your eyes from flying debris.
First, learn how to safely use a hand saw. Then, practice until you feel confident enough to start cutting things. Once you are comfortable with the basics, you will be able cut almost any material.