There's a fascinating story behind fretwork. It dates back to around the mid-16th Century. We'll be looking at the origins of fretwork, how it was influenced by architectural periods, common elements, and the techniques used. Read on to learn more about this ancient craft. This page can be saved for future reference. Here is a quick overview of fretwork's history:
Patterns from diverse origins
The history fretwork goes back nearly 3000 years. It started as Egyptian furniture taken from sealed tombs. The art form was later introduced to the rest, becoming a staple in modern decor. It can be used on floors or walls. There are many different patterns that can be found in a variety if materials such as metal or wood. These are just a few of the most important origins for fretwork.
For example, the trellis design is a 12th-century invention. It was originally used for shade and air circulation. Modern interior design incorporates many designs based on Islamic geometric patterns. These designs have been used as decorative elements in Edwardian or Victorian architecture.
Influences by architectural period
It is influenced by the time period where fretwork was developed, and also the general period in architecture. Modernism created a new style for architecture that didn't use ornaments but was governed by a universal language. Postmodernism emerged from this period. It is a style that echoes and reflects the past. While modernism was a profound shift in architecture, the influence of this time period on fretwork design and style was far from complete.
Architecture's history is almost as old as humanity itself. While styles may have developed in different areas, they reflect changes in society and the climate. Different architectural styles were created and developed to reflect changes in the environment and the landscape. In history, new ideas and construction techniques have shaped architectural movements. These movements helped to establish artistic trends all over the globe.
Common components

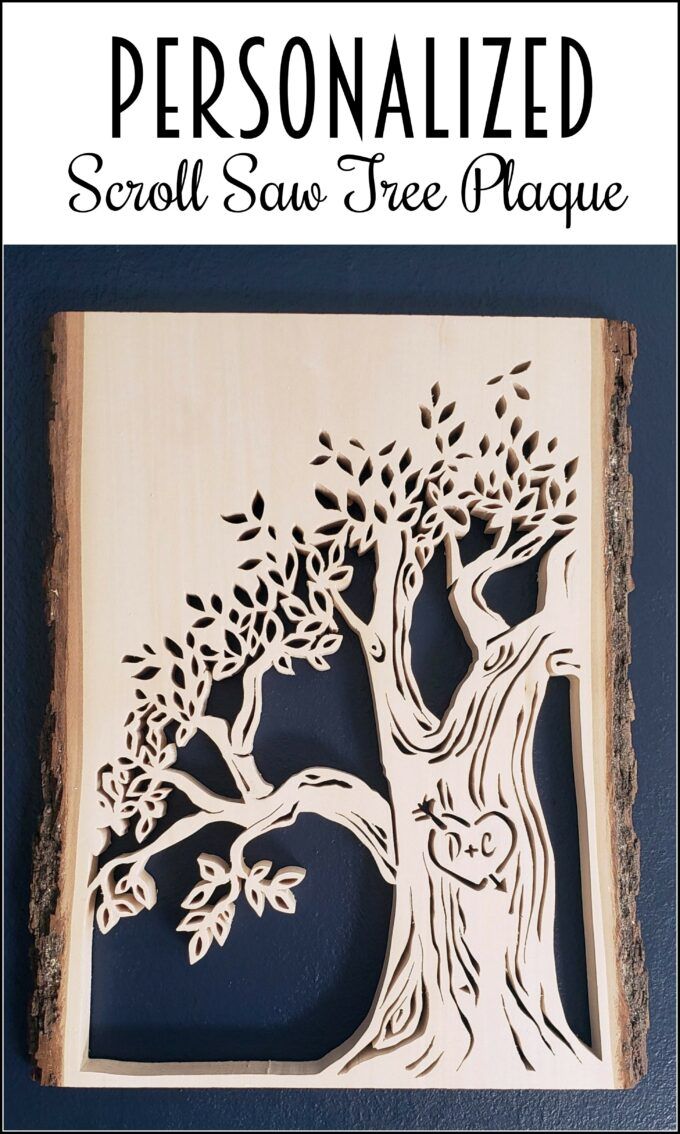
The history of fretwork is as old as civilization itself, and there are several periods of use for this ornament. Fretwork originated in Greece, and it is named for its geometrical pattern. The Greeks used frets for painting and decorating pottery, as well as in other buildings and structures. Fretwork often appears in a band and is made in geometrical designs. Victorians used the treadle lathe and the scroll saw to make fretwork.
While the Moors occupied much of Spain during the early Gothic period, their designs influenced both Portuguese and Spanish art and decoration. As the result, fretwork is the oldest decorative art in the world. Fretwork has an incredible history, stretching back to pre-Roman times, and the earliest known examples date from the 12th century. The history of fretwork goes back a lot further. The Renaissance was also enriched by significant contributions made by Moors to architecture and decoration.
Techniques
While you can find articles on fretwork published in international or national publications, don't expect them to be impartial. There are some great resources, however, that can help you make an informed decision. These are just three of the many great resources. Let's explore the first of them. D. Denning has written a book about fretwork and marquetry. It also includes information on its history and techniques. It also has instructions for inlaying overlaying and scrollsaw machines.

The first time that fretwork was uncovered was on Egyptian furniture, which was taken from their sealed tombs. It has since been widely used in modern decor and has become a key component of many interiors. It's used extensively on floors and walls. Below are some examples that will explain the history of this amazing and beautiful design. These techniques are quite old! You'll be amazed at how old these techniques are!
FAQ
What kind of wood should you use?
The most commonly used woods for woodworking are oak, maple, cherry. Each type of wood has its own unique characteristics that can affect the final product's appearance. Oak, for example, tends be darker and more hard than other woods. Birch is soft and light, and mahogany is denseer and heavier. There are two options: solid wood and veneers. Veneers are thin sheets or wood that are glued together into one layer.
What furniture can I refinish?
Yes! There are many options for refinishing furniture that you don't need to hire a professional. Here are a few ideas:
To remove stains and scratches, use sandpaper. After that, use a clean towel to wipe the surface.
Apply clear polyurethane finish. Allow to dry thoroughly before moving furniture.
Acrylic paint is a great way to paint furniture.
Use stain instead of paint. Furniture will look richer with the stain.
Apply shellac wax. The wax will add shine to the wood and protect it.
What would you recommend as a starting material for woodworking?
Start with softwoods such as pine and poplar. When you feel confident with these two, move on towards hardwood.
Do you know anything more about woodworking?
Furniture making is a laborious task. It's easy not to appreciate how hard it is. Finding the right wood for the project is the hardest part. There are so many options for wood, it can be difficult choosing the right one.
A problem is that wood doesn't have the same properties. Some woods will crack or warp with time. Others will split or crack. Before purchasing wood, you should consider these factors.
How often should I get new supplies?
You'll probably have to replace some of your tools over time. Sharpening hand tools is a must. You'll also need to replace parts if you use power tools. Try spreading your purchases over a few months so you don't buy too many at once.
Statistics
- Woodworkers on the lower end of that spectrum, the bottom 10% to be exact, make roughly $24,000 a year, while the top 10% makes $108,000. (zippia.com)
- The best-paid 10 percent make $76,000, while the lowest-paid 10 percent make $34,000. (zippia.com)
- Overall employment of woodworkers is projected to grow 8 percent from 2020 to 2030, about as fast as the average for all occupations. (bls.gov)
- If your lumber isn't as dry as you would like when you purchase it (over 22% in Glen Huey's opinion…probably over 10-15% in my opinion), then it's a good idea to let it acclimate to your workshop for a couple of weeks. (woodandshop.com)
External Links
How To
How to join two pieces of wood together without nails
Woodworking is a popular hobby. Woodworking can be a fun hobby because you can work with your hands to make useful objects from wood. However, there are times when you want to join two pieces of wood together without having to use nails. This article will teach you how to do this to keep your woodwork projects looking great.
You will first need to trim the edges of your wood pieces before joining them. Sharp corners can cause problems down the line. After you have completed this step, you are ready to glue your boards together.
If you are working on hardwood, you should only use glue on one side. For softwoods like cedar and pine, glue should be applied to both sides. Press the boards down until the glue is fully incorporated. Before you proceed to the next step, be sure to let the glue dry completely.
Once you've glued your boards together you will need to drill holes in the joints to accommodate screws. Depending on what type screw you choose, the size of these holes will depend on how big they are. If you are going to use a half-inch wood screw, you will need to drill at least 3/4 inch deep.
After drilling the holes, you can drive the screws into your board's backside. Avoid hitting the board's top surface. Otherwise, you could ruin the finish. Avoid hitting the screws' ends too often when driving screws. This will prevent the wood from splitting.
Once your project is complete, it's time to protect it against the elements. You have two options: seal the whole furniture piece or just the top. You will want to choose a product that will be durable for many years. There are many options: oil-based varnishes; polyurethane; shellac; lacquer.
These products can usually be found at any home improvement store. Be sure to choose the right one for your project. Keep in mind that certain finishes can be toxic and should not be used indoors. Wear protective gear whenever you are handling them.