This is the place to learn how to carve wood-carved caricatures. This section will teach you about safety, design, and techniques. It is possible to transform a basic caricature into something extraordinary. Here are some tips to help you make your caricature unique. Besides, there's always the option to take classes from caricaturists.
Techniques
Wood carving caricatures are a unique form of sculpture. They're amusing and can tell a story without words. Caricature refers to a distorted representation of a human being. Dave Stetson, a wood carver, follows a strict code to be realistic and has some rules that can be used to create a good caricature. This article will discuss the basics and give some tips for creating a caricature.
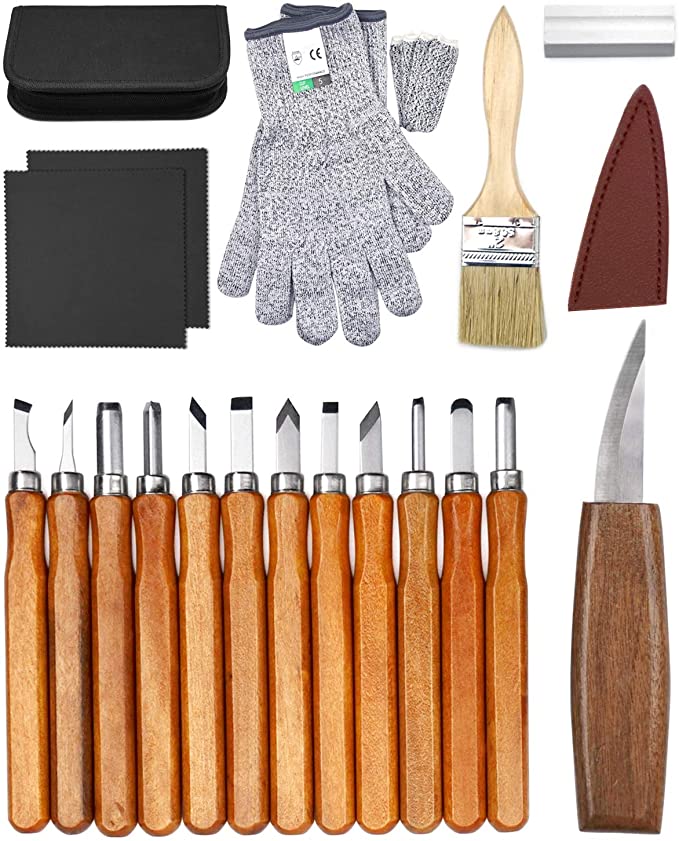
First, the technique to carve an astronaut requires focus. To carve an astronaut, you will need to use whittling knives or spoon carving knives. These are delicate tools. You can also use templates to help you make your work easier while carving the astronaut. A tutorial will give you step-by-step instructions for how to complete your caricature. You may want to consider purchasing a tutorial for this topic if your budget is tight.
Designs
There are many methods to make wood-carved caricatures. You can start by using a pattern. A cardboard cutout can be purchased and used to carve different types of caricatures. A tutorial on caricature carving can be followed. This article will show you how to carve a caricature using the most effective techniques and designs.
Fred created his first caricature, titled "Aristocrats of the Roads". It featured two men-wanderers. It was made of Honduras Mahogany. Fred entered it into competitions and won several awards. It was also featured on the Chipping Away Catalog. Fred carved a second Luciano Pavarotti-caricature in 2009, which earned him the Second Runner Up Award at an annual woodcarving convention.
Eyes
It is important to ensure realistic looking eyes when carving caricatures. There is nothing wrong in having realistic looking eyes. However, viewers may not be satisfied with a caricature lacking the right amount detail. Take a picture of an existing carving to ensure that your eyes align properly. Then, follow the steps in the photograph.
Next, the shape and size of the eyes must be determined. Some carvers use the identical eye shape to create their eyes. Others create more convincing eyes using different shapes. To make your eyes symmetrical, you can use stop cuts to carve the lower eyelid. Finally, you'll need to carve your pupil and iris. You can now move on to the next stage of carving the caricature.
Safety
They are distinctive in their designs. These caricatures can tell a story with no words and are created by skilled artists who take great care to ensure accuracy. Caricatures can be described as representations of people and things that are exaggerated in order to convey an impression or satire. Dave Stetson, a woodcarver, has created strict rules regarding safety and quality.
First, clean the wood thoroughly and remove pencil marks. Use dish soap or water to clean the surface. You can carve the neck or head with a V-shaped tool that is 60 degrees. An easy-to-use 60-degree V shaped tool can help with the carving process. Ramelson 60° V-shaped Carving tool is a great choice. It's sharp and simple to operate.
Materials
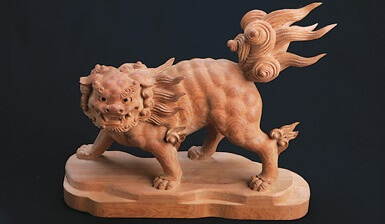
The wire and wood caricatures are a fun, challenging way to carve animal figures. Although animal caricatures are not as detailed as human caricatures they can still be fun and tell a story without using words. Caricatures often have exaggerated realism. For beginners, carving caricatures can be difficult. However, for more skilled carvers, there are many materials available.
To complete your carving, you'll need chisels or a woodboard. You will also need a hammer. The first layer of paint is acrylic white paint, which you can buy at a craft store. Once you've completed the base layer, the next layer can be started. This layer will contain a mixture of a golden brown and a few drops or burnt sienna. For the face, you should use 2 drops of sunkissed peach.
FAQ
Which material would you recommend for woodworking lessons?
You can start with softwoods like pine or poplar. You will feel more comfortable with these softwoods, so you can move onto hardwood.
What tools are best to begin with when I become a woodworker
Woodworking is an art that takes patience and practice. Learning how to use the various tools and techniques necessary for woodworking takes patience.
There are many options for woodworking equipment today. Some prefer to use power tools and others prefer hand tools.
The choice is yours, but you must ensure you choose the right tool for the job. It may be a good idea to start with a basic set, if possible, if you don’t know much about hand tools.
You might also want to learn how a router works, which allows you to cut wood into intricate shapes. These routers can be purchased at most hardware and home improvement stores.
What kind tools do carpenters use to build?
Carpenters most often use a tool called a hammer. The hammer is used to pound nails into wood. They can also use it to hold the pieces together as they work on a project. Other tools include clamps.
How can I organize my shop?
Setting aside an area to store tools is the first step in keeping your workshop organized. Your tools will stay sharp and ready to go when they are free from dust and debris. To hang accessories and tools, use pegboard hooks.
Is it possible to learn woodworking by yourself?
The best way to learn anything is by doing. Woodworking is an intricate art form that requires practice, skill, patience, and experience. Mastering any craft takes time.
Learning how to do something is best done by doing it. Start small, and work your way up from there.
Statistics
- Woodworkers on the lower end of that spectrum, the bottom 10% to be exact, make roughly $24,000 a year, while the top 10% makes $108,000. (zippia.com)
- Overall employment of woodworkers is projected to grow 8 percent from 2020 to 2030, about as fast as the average for all occupations. (bls.gov)
- The best-paid 10 percent make $76,000, while the lowest-paid 10 percent make $34,000. (zippia.com)
- The U.S. Bureau of Labor Statistics (BLS) estimates that the number of jobs for woodworkers will decline by 4% between 2019 and 2029. (indeed.com)
External Links
How To
How to drive a nail through wood
First, choose the right size and type of tool to drive a nail through wood. The most commonly used types of Hammers are claw hammers. Each kind of hammer has its own advantages and disadvantages. For example, a claw hammer works best when you want to hit something hard, like nails; however, it's difficult to control precisely where the blow lands. A sledgehammer is great for hitting large areas at once, but it's too heavy to use effectively for smaller tasks.
Once you have chosen the right hammer for you, put your hand flat against its side so that it rests comfortably in the palm of your hand. Take the handle and hold it with both hands. But don't press down so hard you injure yourself. Your wrist should be relaxed while you hold the hammer straight upwards. Then swing the hammer back toward the ground, aiming for the center of the nail. The impact of the hammer hitting the nail should be felt. You can practice swinging the hammer with a block or wood until you feel the rhythm.
Hold the hammer near your body until you're ready for the nail to be driven. Place the nail so that it is perpendicular with the wood's surface. Keep your eyes on the tip. Swing the hammer forward, then follow through with the motion of the hammerhead. This can be repeated several times to increase the speed of your swing. When you are confident with the technique, add power to your swings. You can hold the hammer over your shoulder and forcefully bring it down. You will be able to use more energy and put your best foot forward.
After you have nailed the hole, take the hammer off the nail. The rest of the nails can be pulled out using a screwdriver, pry bar, or a hammer. You should ensure that the nails are flush with the board's surface to avoid splitting the wood.