This article will guide you through the process of choosing the right pocket-hole screw, drilling the hole, as well as how to use a Kregjig. If you're a beginner, you might even want to skip to the end, because it's so easy! After all, it's easy to screw the wrong size screw into a board. It is essential to use pocket holes when glueing two boards together.
Choosing the right screw
You must choose the right screws for your project when woodworking. These screws are strong and versatile. The thread type depends on the wood, so you should select a coarse-thread screw if the wood you're working with is soft. Pocket-Hole Screws by Kreg with coarse thread are great for work with softwoods and sheet materials.
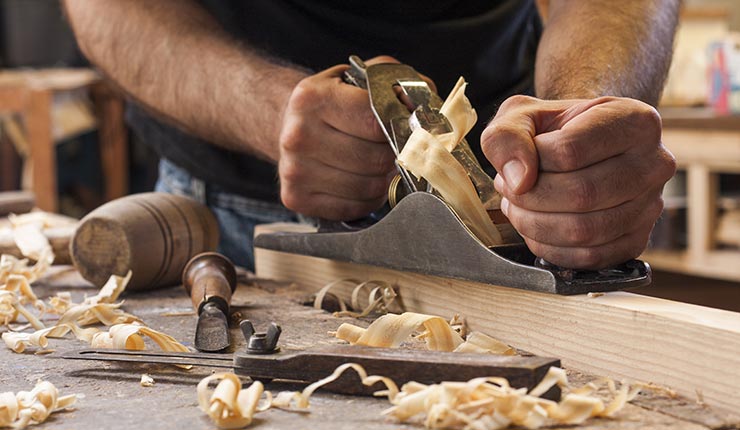
Drilling the hole
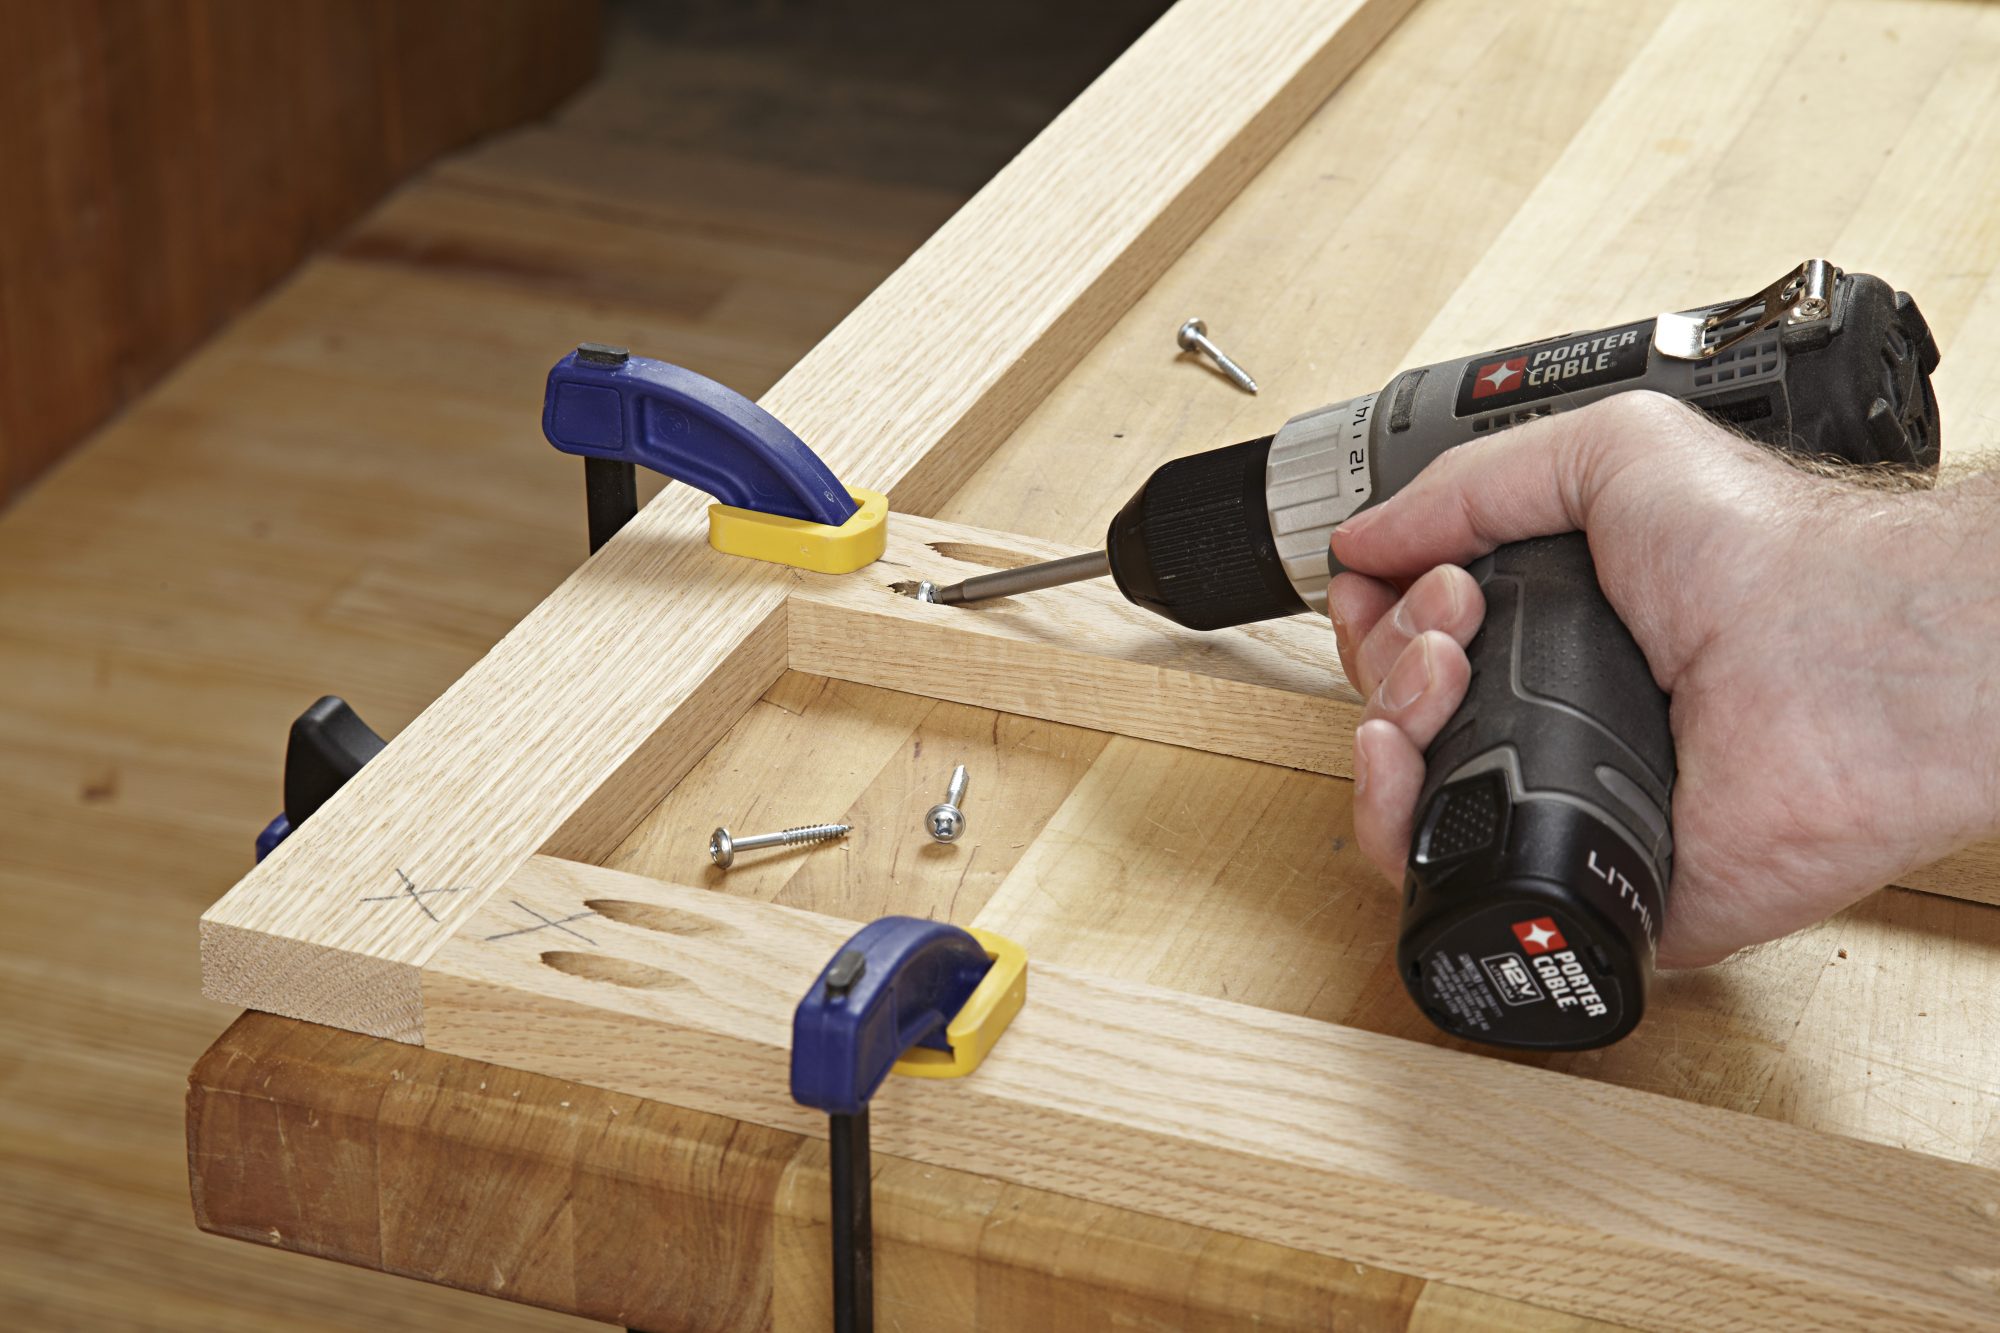
You will need to drill the hole before you insert the pocket hole screws. The exit point of the pocket hole should be about 1/4" from the edge of the workpiece. The exit point of the pocket hole should be about 1/4" from the edge of the workpiece. When drilling the hole, make sure to use the correct jig and drill bit. Using the wrong jig or bit will cause the pocket hole to not be centered correctly.
Use a spacer
It is important to use a spacer for pocket holes when working with wood. Spacers allow you to avoid mistakes that can cause the screw to twist out of alignment. Also, by using two screws on either side of the joint, the screw will not get twisted and stay in place. Additionally, two screws are needed to secure the joint. This will prevent the screw bending out of alignment.
Using a Kreg jig
Kreg jigs can be used to create drawers or cabinets. These tools have adjustable collars. They can be moved in and out according to what material you use. The bottom of the drill guide will become a waste area once the drill has been completed. Make sure you clean the step bit flutes to keep your jig clean before you use it again.

Wood plugs
Wood plugs can be used with pocket hole screwdrivers to cover any exposed edges and ensure proper installation. Wood plugs can easily be found at hardware stores. Drill a 3/8" hole in the pocket holes from scrap wood and then replicate the process with wood plugs. You can then use a flush saw to trim the plug flush. Another option is to use a plug cuter to prevent uneven surfaces.
FAQ
Is it difficult to start my woodworking business?
It's not easy to start your own woodworking business. There are lots of legal requirements and regulations that you'll need to follow. You don't have to go through all that hassle of setting it up. Many people decide to join established businesses. This allows you to join existing businesses and pay only membership fees.
Do you have any tips on starting a woodworking business?
It is hard work to start a woodworking company. It's worth it if you're passionate and willing to work hard. You will probably love the challenge of starting your own business.
You should remember that unexpected issues may occur when you launch a new venture. You might run out unexpectedly of funds. Maybe customers won't be willing to pay what you want. Preparedness is key to survival in such situations.
It is a good idea to create a separate bank account just for your company. You'll know exactly how much money is coming in by setting up a separate bank account.
How can I organize my shop?
A designated place to store your tools is the first step towards keeping your workshop clean. Keep your tools away from dust and debris, so they stay sharp and ready to work. Hang tools and accessories using pegboard hooks.
What kind of tools do carpenters use?
A hammer is the most commonly used tool by carpenters. A hammer can be used to drive nails into wood. A hammer is used to hold pieces together during a project. Other tools include clamps.
How much money do you need to get going?
Because each project is unique there are no exact numbers. These are the factors that will give you an idea of how much you'll need.
-
Material costs
-
Tools and equipment
-
Time spent on the Project
-
Hourly rate
-
What profit are you expecting to earn?
-
You can hire help, regardless of whether you have a plan.
If you're just starting out, you may decide to start small by making simple items such as boxes and picture frames. As you gain experience, more difficult projects will become possible.
What tools should you start with to become a woodworker
Woodworking is an art form that requires patience and practice. Learning how to use the various tools and techniques necessary for woodworking takes patience.
There are many kinds of woodworking equipment currently on the marketplace. Some prefer to use power tools and others prefer hand tools.
The choice is yours, but you must ensure you choose the right tool for the job. A basic set of hand tools may be enough for you if your skills are not yet developed.
You might also consider learning how to use the router to create intricate shapes from wood. These can be found at most hardware shops.
Statistics
- The U.S. Bureau of Labor Statistics (BLS) estimates that the number of jobs for woodworkers will decline by 4% between 2019 and 2029. (indeed.com)
- If your lumber isn't as dry as you would like when you purchase it (over 22% in Glen Huey's opinion…probably over 10-15% in my opinion), then it's a good idea to let it acclimate to your workshop for a couple of weeks. (woodandshop.com)
- Most woodworkers agree that lumber moisture needs to be under 10% for building furniture. (woodandshop.com)
- Woodworkers on the lower end of that spectrum, the bottom 10% to be exact, make roughly $24,000 a year, while the top 10% makes $108,000. (zippia.com)
External Links
How To
How to make wood joints
This tutorial will show how to join 2 pieces of wood together. We will use the "pockethole joint," which means that we drill holes in the wooden pieces and then glue them together. If your wood is straight and flat, this method will work well. You may want to consider other methods, such as dowel joining. These are the steps
-
Drill Pocket Hole Joints. First, measure the area where you wish to place the pocket joint. Then drill 3/4 inch deep holes into the ends of each piece of wood using a jig saw or handheld drilling machine.
-
Sand Smooth. Sanding the wood's edges will help ensure that the joint won't split later.
-
Glue Together Apply glue on both sides of the wooden plank. Let the wood sit for 5 minutes, then clamp it together.
-
Clamp the Pieces Together. After the glue has dried thoroughly, secure the pieces so that they are flush.
-
Trim Joinery. Trimming the joinery after glue has completely dried.
Allow enough space between pieces so you can turn them inside out.